
As a child I loved Easter almost as much as Christmas as it meant there would be crafting time! We’d do egg painting, make pipe cleaner animals and fastenlavenris; a Nordic tradition where we decorate branches with colourful feathers and hang the decorated eggs from them.
I still decorate my house every Easter but now my decorations are knitted and crocheted instead so that they last year after year!
I wanted to share the Easter joy with you all with this Chick in Easter Egg pattern, have fun with decorating the eggs as you want and make sure to tag me @catknit_ so I can share them all!
Materials:
(Only one ball needed for each)
Colour A: Sirdar Happy Chenille – Sparkler
Colour B: Sirdar Happy Chenille – Snowflake
Face details (you’ll need just a tiny bit of each):
Colour C: Sirdar Happy Cotton – Liquorice
Colour D: Sirdar Happy Cotton – Juicy
Colour E: Sirdar Happy Cotton – Puff
For the egg decoration use DK cotton colours of your choice!
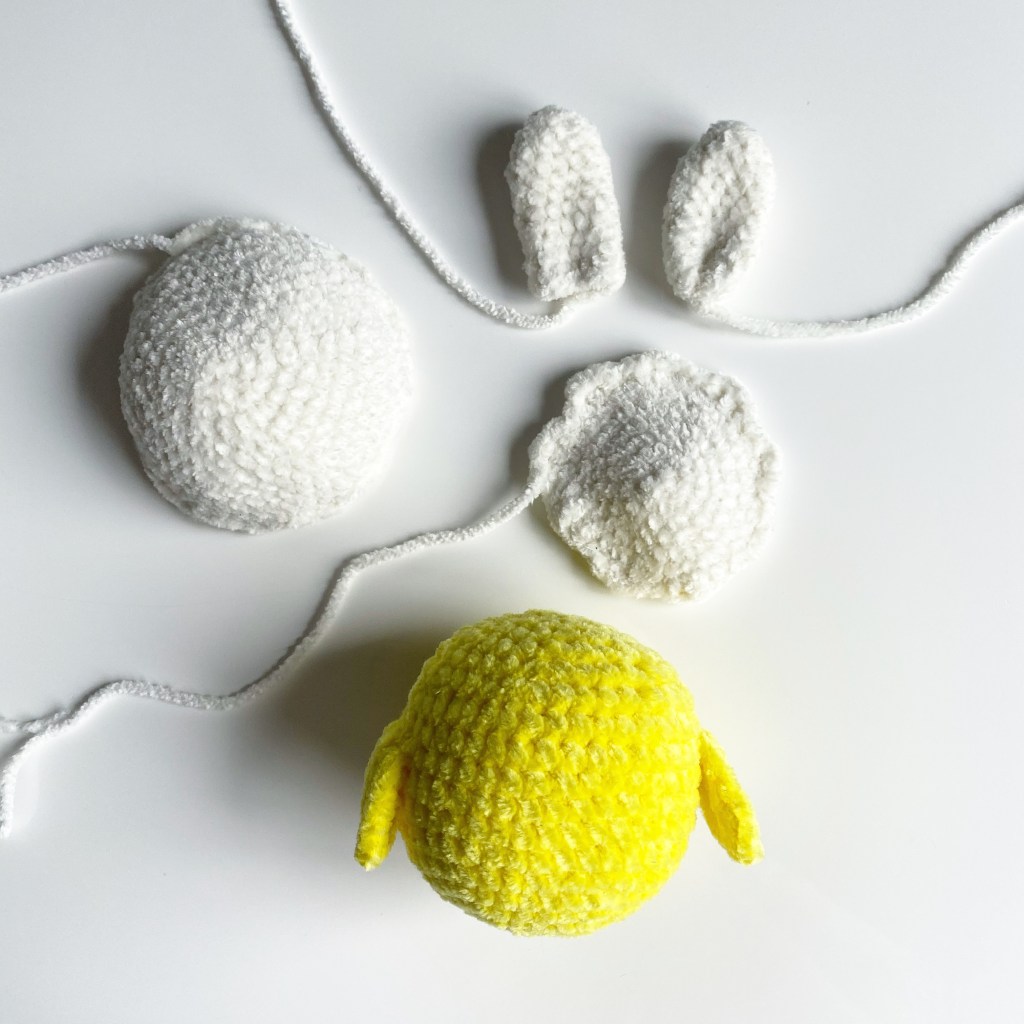
Chick:
1. Using colour A, work 6 sc in magic ring (6)
2. Inc in each st (12)
3. *1 sc, 1 inc** repeat * to ** 6 times (18)
4. *2 sc, 1 inc** repeat * to ** 6 times (24)
5. *3 sc, 1 inc** repeat * to ** 6 times (30)
6. *4 sc, 1 inc** repeat * to ** 6 times (36)
7. *5 sc, 1 inc** repeat * to ** 6 times (42)
8-14. Sc in each st
15. *5 sc, 1 inv.dec** repeat * to ** 6 times (36)
16. *4 sc, 1 inv.dec** repeat * to ** 6 times (30)
17. *3 sc, 1 inv.dec** repeat * to ** 6 times (24)
18. *2 sc, 1 inv.dec** repeat * to ** 6 times (18)
Start stuffing the chick
19. *1 sc, 1 inv.dec** repeat * to ** 6 times (12)
Top up the stuffing at the top
20. Inv.dec in each st (6)
Fasten off leaving a long tail for sewing the last stitches together.
Wings (make 2):
1. Using colour A, work 6 sc in magic ring (6)
2. Inc in each st (12)
3. *1 sc, 1 inc** repeat * to ** 6 times (18)
4. *2 sc, 1 inc** repeat * to ** 6 times (24)
Sl st in first st and tie off leaving a long tail for attaching the wings to the chick.
Egg (bottom half):
1. Using colour B, work 6 sc in magic ring (6)
2. Inc in each st (12)
3. *1 sc, 1 inc** repeat * to ** 6 times (18)
4. *2 sc, 1 inc** repeat * to ** 6 times (24)
5. *3 sc, 1 inc** repeat * to ** 6 times (30)
6. *4 sc, 1 inc** repeat * to ** 6 times (36)
7. *5 sc, 1 inc** repeat * to ** 6 times (42)
8. *6 sc, 1 inc** repeat * to ** 6 times (48)
9-11. Sc in each st
12. *1 dc, 1 trb, 1 dc, sl st** repeat * to ** 12 times (48)
Fasten off leaving a long tail for attaching the egg to the chick.
(You can also use white DK to attach the egg if you struggle with the chenille)
Egg (top half):
1. Using colour B, work 6 sc in magic ring (6)
2. Inc in each st (12)
3. *1 sc, 1 inc** repeat * to ** 6 times (18)
4. *2 sc, 1 inc** repeat * to ** 6 times (24)
5. *3 sc, 1 inc** repeat * to ** 6 times (30)
6. *4 sc, 1 inc** repeat * to ** 6 times (36)
7. *1 dc, 1 trb, 1 dc, sl st** repeat * to ** 9 times (36)
Fasten off leaving a long tail for attaching the egg to the chick.
(You can also use white DK to attach the egg if you struggle with the chenille)
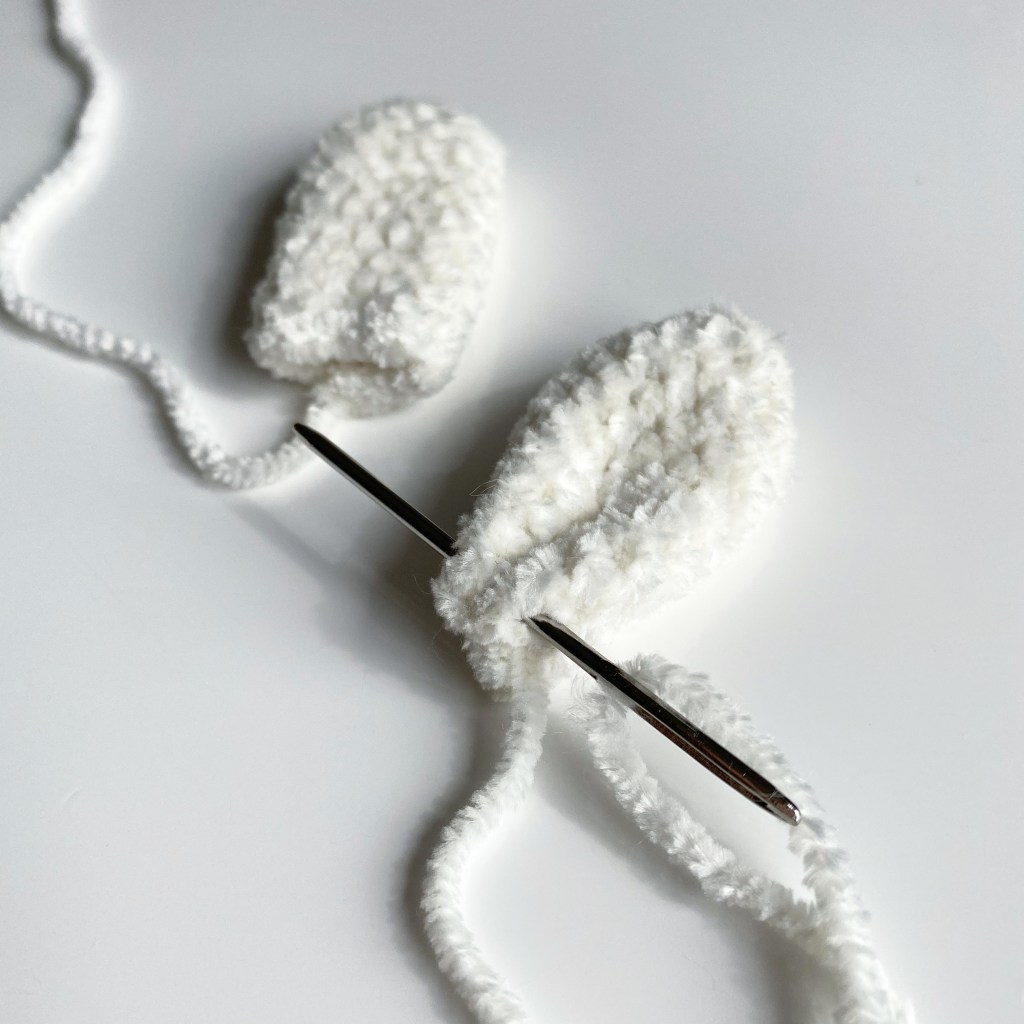
Ears (make 2):
1. Using colour B, work 6 sc in magic ring (6)
2. Sc in each st
3. *1 sc, 1 inc** repeat * to ** 3 times (9)
4. *2 sc, 1 inc** repeat * to ** 3 times (12)
5-12. Sc in each st
Fasten off leaving a long tail to shape the ear and attach to the top egg.
Fold the ears in half and stitch together with the long tail (you can use white DK yarn if needed).
Assembly:
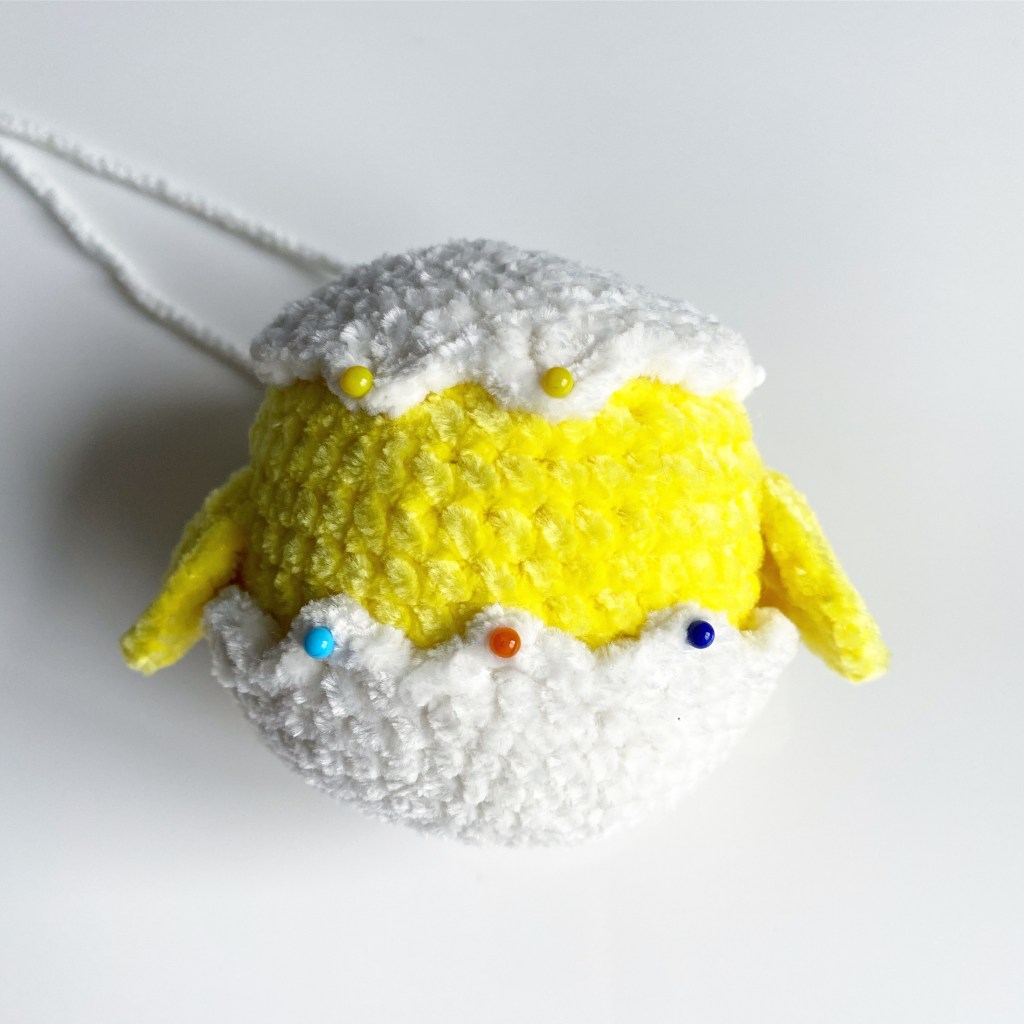
Start by pinning all your parts in place to make sure you’re happy with the placements, the egg parts should sit nice and snug over the chick.
Use pins to pull up the pointed part of the egg halves to create definition, you should see 5 full rows of the chick between the two halves.
The wings will sit 2 rows up from the pointed part of the bottom egg on each side of the chick.
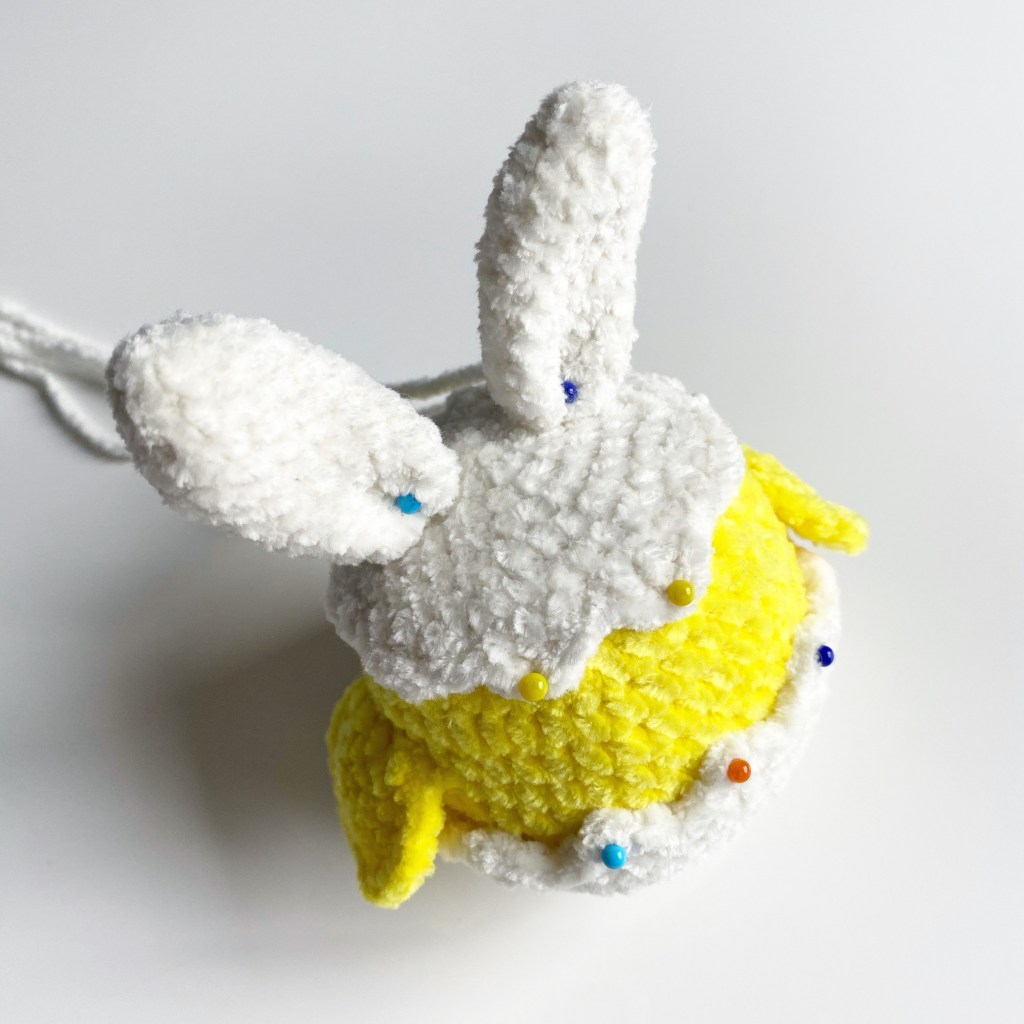
The ears will sit in the middle of the top of the egg, on each side of round 1.
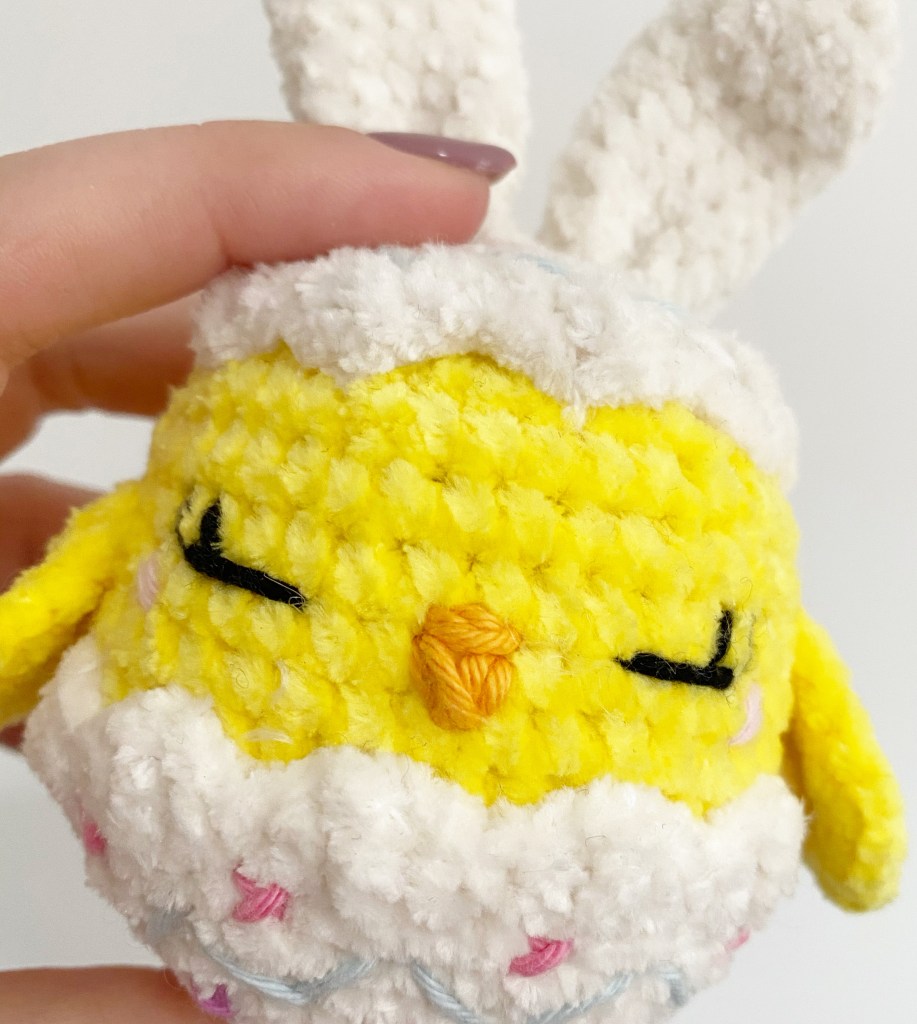
Face features:
The eyes are stitched on 2 rows up from the pointed part of the bottom egg with 5 sts in between, the length of the eye is 3 sts across. The first lash is sewn from the end of the eye to the row above, for the second repeat one stitch in from first lash.
The beak is sewn on over the second row up from the bottom egg, so the top of the beak aligns with the eyes. The top of the beak is 1 stitch wide and the bottom should end in the same stitch (like a triangle), keep going over the same stitches until you’re happy with the shape.
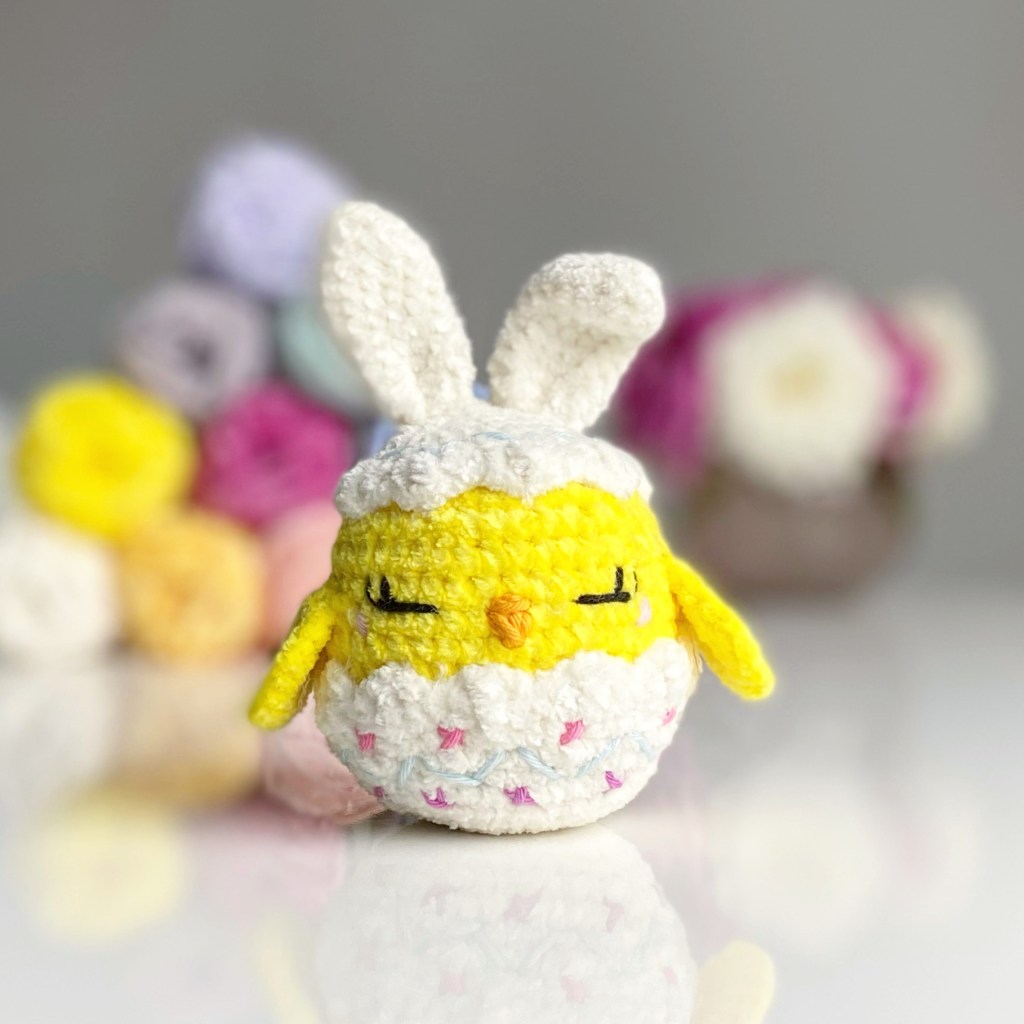
Now for the (most) fun bit, decorate the eggs exactly how you want it with your favourite colours and patterns. Just like you if you were painting it!
I can’t wait to see all you Chicks in Eggs!
