Materials:
Colour A: 2x Cygnet Jelly Baby Chunky – Dandelion (007)
Colour B: 1x Cygnet Jelly Baby Chunky – Blush (002)
Colour C: 1x Cygnet Jelly Baby Chunky – White (001)
Colour D: 1x Rico Ricorumi DK – White (001)
Colour E: 1x Rico Ricorumi DK – Black (060)
Colour F: 1x Rico Ricorumi DK – Pistachio (047)
Colour G: 1x Rico Ricorumi DK – Candy Pink (012)
Stuffing
Tapestry needle
Hook: 4mm for chenille and 2.5mm for cotton
Sewing tip: The chenille yarn can be tricky to sew with, you can use cotton yarn in a similar shade when sewing the parts together.
Pattern:
Head:
1. Using colour A, work 6 sc in magic ring (6)
2. Inc in each st (12)
3. [1 sc, 1 inc] x6 (18)
4. [2 sc, 1 inc] x6 (24)
5. [3 sc, 1 inc] x6 (30)
6. [4 sc, 1 inc] x6 (36)
7. [5 sc, 1 inc] x6 (42)
8. [6 sc, 1 inc] x6 (48)
9-14. Sc in each st
15. [6 sc. 1 inv.dec] x6 (42)
16. [5 sc. 1 inv.dec] x6 (36)
17. [1 sc, 1 inv.dec) x6, sc in the rest of the sts (30)
18-19. Sc in each st
20. [3 sc. 1 inv.dec] x6 (24)
21. Sc in each st
22. [2 sc. 1 inv.dec] x6 (18)
Stuff the head firmly
23. [1 sc. 1 inv.dec] x6 (12)
24. [inv.dec] x6
Fasten off and top up the stuffing before sewing the last sts together.
Nose – white part:
1. Ch 9, sc 8 starting in the 2nd ch from the hook, sc 8 down the other side of the ch (16)
2. [Sc 7, inc] x2 (18)
3. [Sc 8, inc] x2 (20)
Fasten off.
Using a tail of colour D, make a long st down the middle of the nose, starting a row down from the top and around the bottom as per the illustration below, tie the thread to the starting tail and pull tightly to create the shape below.


Nose heart:
Using colour G, do the following st in a mr: Ch 2, 2 dc, 2 hdc, 1 sc, 2 hoc, 2 dc, ch 2 and sl st in to the ring, close the mr
Mouth:
1. Using colour G, work 6 sc in magic ring (6)
2. Inc in each st and turn your work so that you create a half circle (12)
3. [1 sc, 1 inc] x6, turn (18)
4. Change to colour C and sc in each st, fasten off
Eyes – white part (make 2):
1. Using colour D, work 6 sc in magic ring (6)
2. Inc in each st (12)
3. [1 sc, 1 inc] x6 (18)
4. [2 sc, 1 inc] x6 (24)
5. [3 sc, 1 inc] x6 (30)
Fasten off, leaving a long tail for later.
Eyes – black and green part (make 2):
1. Using colour E, work 6 sc in magic ring (6)
2. Inc in each st (12)
Three sts are worked in white (colour D`0 in the next round, the rest in black
3. 1 sc, inc, 1 sc in white, [inc, sc] x2, inc in white, [sc, inc] x2
4. Change to colour F, [2 sc, 1 inc] x6 (24)
Fasten off, leaving a long tail for later.
Ears (make 2):
Make 4 of the below in total, 2 in colour A and 2 in colour B:
1. Using colour A, chain 5, sc 4 starting in the second ch from the hook (4)
2-3. Sc in each st
4. Inc, sc 2, inc (6)
5-8. Sc in each st
9. Dec, sc 2, dec (4)
10-11. Sc in each st
12. [Dec] x2 (2)
13. Dec (1)
Fasten off.
Once you have all 4 parts, place a yellow and a pink part together and sc around the edges to combine the two in colour C.
Body:
1. Using colour A, work 6 sc in magic ring (6)
2. Inc in each st (12)
3. [1 sc, 1 inc] x6 (18)
4. [2 sc, 1 inc] x6 (24)
5. [3 sc, 1 inc] x6 (30)
6. [4 sc, 1 inc] x6 (36)
7. [5 sc, 1 inc] x6 (42)
8. [6 sc, 1 inc] x6 (48)
9. [7 sc, 1 inc] x6 (54)
10. [8 sc, 1 inc] x6 (60)
11-13. Sc in each st
14. [8 sc, 1 inv.dec] x6 (54)
15. Sc in each st
16. [7 sc, 1 inv.dec] x6 (48)
17-19. Sc in each st
20. [6 sc, 1 inv.dec] x6 (42)
21-23. Sc in each st
24. [5 sc, 1 inv.dec] x6 (36)
25-26. Sc in each st
27. [4 sc, 1 inv.dec] x6 (30)
28. Sc in each st
29. [3 sc, 1 inv.dec] x6 (24)
30-31. Sc in each st
32. [2 sc, 1 inv.dec] x6 (18)
Fasten off and stuff the body firmly.
Legs (make 2):
1. Using colour B, work 6 sc in magic ring (6)
2. Inc in each st (12)
3. [1 sc, 1 inc] x6 (18)
4. [2 sc, 1 inc] x6 (24)
5. [3 sc, 1 inc] x6 (30)
6. [4 sc, 1 inc] x6 (36)
7. [5 sc, 1 inc] x6 (42)
8. [6 sc, 1 inc] x6 (48)
9. [7 sc, 1 inc] x6 (54)
10. Change to colour A and sc in BLO
11. [4 sc, inv.dec] x6, sc in the rest of the sts (48)
12. [3 sc, inv.dec] x6, sc in the rest of the sts (42)
13. [2 sc, inv.dec] x6, sc in the rest of the sts (36)
14. [1 sc, inv.dec] x6, sc in the rest of the sts (30)
15. [Inv.dec] x6, sc in the rest of the sts (24)
16-20. Sc in each st
21. [Inc] x6, sc in the rest of the sts (30)
22-23. Sc in each st
24. [1 sc, inc] x6, sc in the rest of the sts (36)
25-27. Sc in each st
28. [1 sc, inv.dec] x6, sc in the rest of the sts (30)
29. Sc in each st
30. [Inv.dec] x6, sc in the rest of the sts (24)
31. Sc in each st
Don’t cut the yarn yet. Stuff the leg before closing the leg by sc through both layers.
Arms (make 2):
1. Using colour A, work 6 sc in magic ring (6)
2. Inc in each st (12)
3. [1 sc, 1 inc] x6 (18)
4. [2 sc, 1 inc] x6 (24)
5. [3 sc, 1 inc] x6 (30)
6-7. Sc in each st
8. [3 sc, 1 inv.dec] x6 (24)
9. Sc in each st
10. [2 sc, 1 inv.dec] x6 (18)
11-19. Sc in each st
20. [1 sc, 1 inv.dec] x6 (12)
21. Sc in each st
Don’t cut the yarn yet. Stuff the arm before closing the arm by sc through both layers.
Tail:
1. Using colour C, work 6 sc in magic ring (6)
2. Inc in each st (12)
3. [1 sc, 1 inc] x6 (18)
4-7. Sc in each st
8. [1 sc, 1 inv.dec] x6 (12)
Stuff the tail firmly
9. [inv.dec] x6 (6)
Fasten off and sew the last sts together
Assembly:
Tip: I recommend to pin all your parts in place before sewing to ensure everything is aligned>
Making sure you the part of the head where you decreased in row 17 is pointing towards you.
Attach the white parts of the eye across row 15-19 of the head with the spacing of 2 sts in between.
Attach the second part of the eye to the white part, ensuring the top of the eye overlaps the white part ever so slightly. Make sure to align the white parts of the eyes, use the image below for guidance on placement.
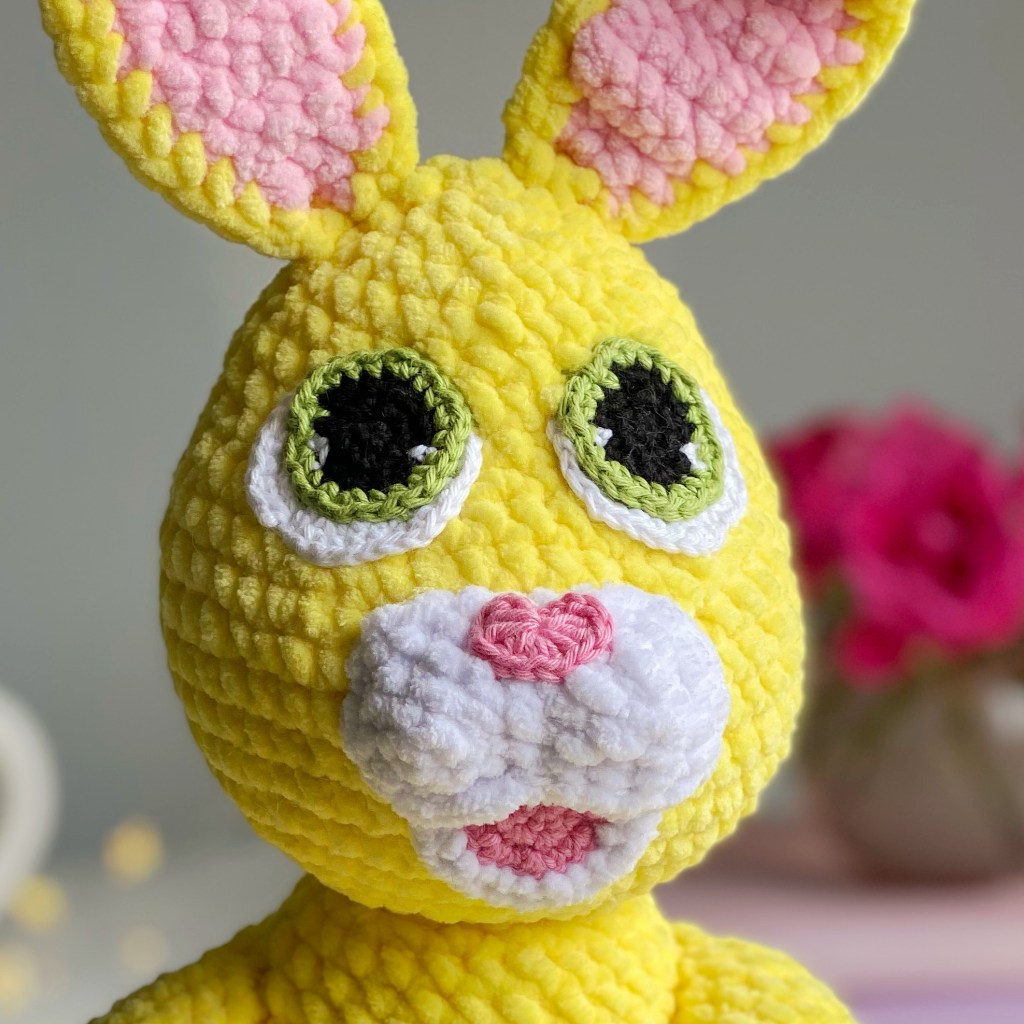
Attach the mouth across row 9-11 and the nose across row 11- 14, ensuring the nose overlaps the mouth on row 11.
Attach the pink heart to the top of the white part as per the image.
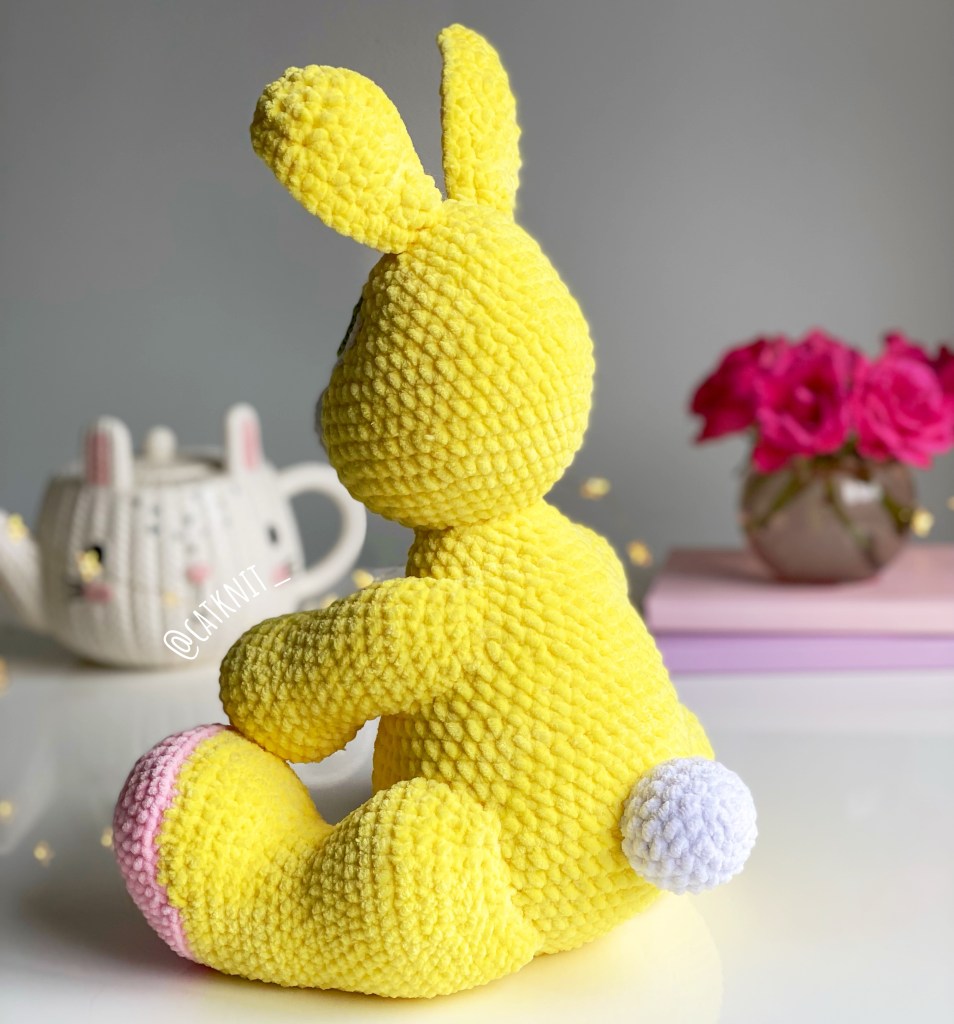
Attach the ears to rows 22 and 23, leaving a small gap in between them as per the image above.
Attach the head to the body in row 3 of the head.
Attach the legs to the body, the closed seam of the leg should sit across row 8-16 of the body, there should be 14 sts in between the legs on the back in row 8.
Attach the arms to the body, the closing seam of the arms should sit across row 24-29, there should be 12 sts in between the arms on the back in row 24. Make sure the arms sit in a downwards angle.
Attach the tail across row 11-15 of the body.
And you’re done! Woohoo 🥳 Make sure to tag me in your makes (@catknit_)!
If you enjoyed this pattern and would like to treat my yarn stash you can support me here 💖