
Strawberry
Materials:
Colour A: Sirdar Happy Chenille – Picnic (0027)
Colour B: Rico Ricorumi DK – Chocolate (057)Colour C: Rico Ricorumi DK – Pistachio (047)
Colour C: Rico Ricorumi DK – White (001)
Colour D: Rico Ricorumi DK – Black (060)
Crochet Hook: 2.5mm
8mm safety eyes
Toy stuffing
Strawberry pattern:
1. Using colour A, work 6 sc in magic ring (6)
2. Sc in each st
3. Inc in each st (12)
4. Sc in each st
5. [1 sc, 1 inc] x6 (18)
6. Sc in each st
7. [2 sc, 1 inc] x6 (24)
8. Sc in each st
9. [3 sc, 1 inc] x6 (30)
10. Sc in each st
11. [4 sc, 1 inc] x6 (36)
12-15. Sc in each st
16. [4 sc, 1 inv.dec] x6 (30)
17. [3 sc, 1 inv.dec] x6 (24)
18. [2 sc, 1 inv.dec] x6 (18)
Add the safety eyes between row 12 and 13 with 4 sts in between.
Start stuffing the strawberry
19. [1 sc, 1 inv.dec] x6 (12) Top up the stuffing.
20. Change to colour B, sc in each st
21. [(Sc, hdc, dc, hdc, sc) in the same st, sl st in the next] x6 Fasten off.
Using a bit of dk cotton yarn sew a running st around the inside of row 19 and pull tight to close. Fasten off and sew in loose ends.
Details:
Using colour C, make a st on the outside of each eye. To avoid the yarn from slipping under the safety eyes, make a st across the middle to hold in place.
Using colour D, sew the mouth on in row 11, 2 sts wide.
Using colour D, sew the eyebrows on an angle across row 15, 2 sts wide and with 8 stitches in between.
Sew on the seeds randomly, all over the strawberry.

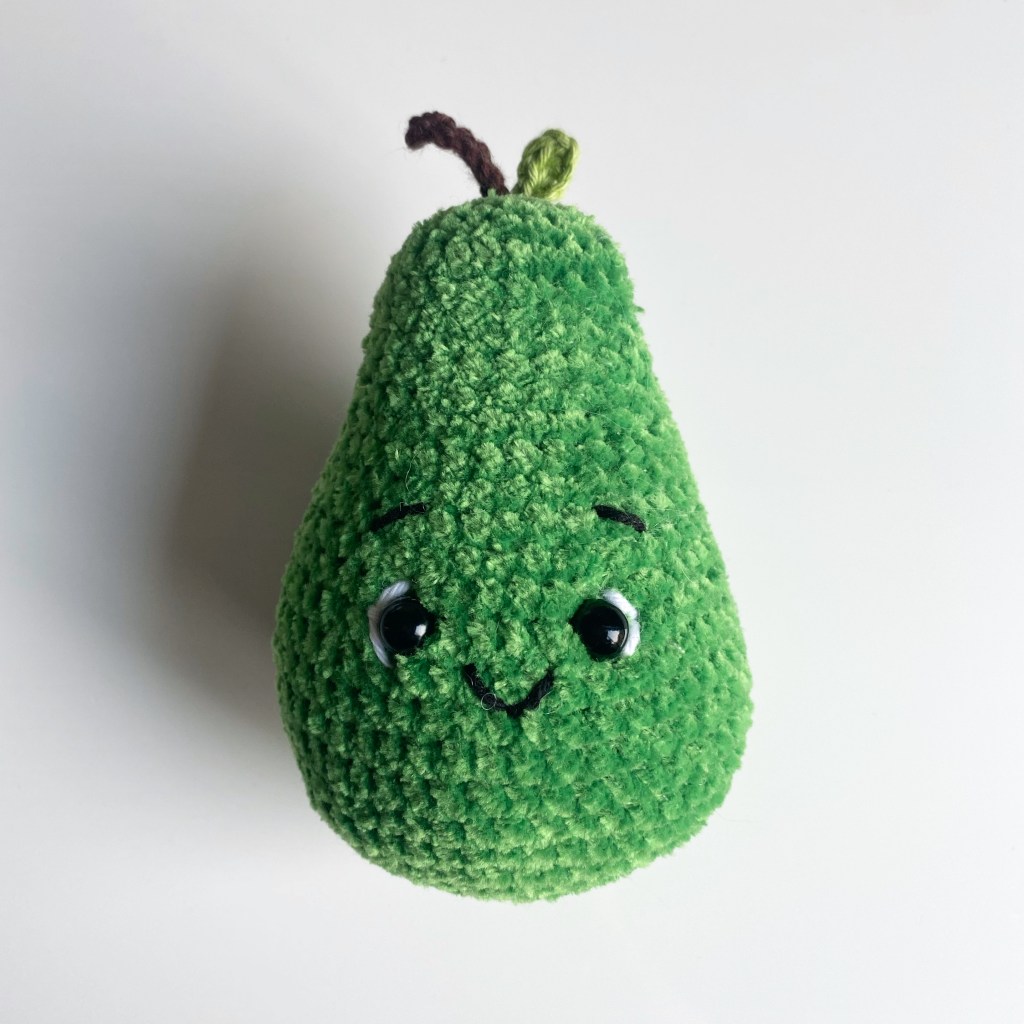
Pear
Materials:
Colour A: Sirdar Happy Chenille – Picnic (0027)
Colour B: Rico Ricorumi DK – Chocolate (057)Colour C: Rico Ricorumi DK – Pistachio (047)
Colour D: Rico Ricorumi DK – White (001)
Colour E: Rico Ricorumi DK – Black (060)
Crochet Hook: 2.5mm
8mm safety eyes
Toy stuffing
Pear Pattern:
1. Using colour A, work 6 sc in magic ring (6)
2. Inc in each st (12)
3. [1 sc, 1 inc] x6 (18)
4. [2 sc, 1 inc] x6 (24)
5. [3 sc, 1 inc] x6 (30)
6. [4 sc, 1 inc] x6 (36)
7. [5 sc, 1 inc] x6 (42)
8. [6 sc, 1 inc] x6 (48)
9-14. Sc in each st
15. [6 sc, 1 inv.dec] (42)
16. Sc in each st
17. [5 sc, 1 inv.dec] (36)
18. Sc in each st
19. [4 sc, 1 inv.dec] (30)
20. Sc in each st
21. [3 sc, 1 inv.dec] (24)
22-23. Sc in each st
Add the safety eyes between row 15 and 16 with 6 sts in between.
24. [2 sc, 1 inv.dec] (18)
25. Sc in each st
26. [2 sc, 1 inc] x6 (24)
27. Sc in each st
Start stuffing the pear
28. [2 sc, 1 inv.dec] (18)
29. [1 sc, 1 inv.dec] (12)
30. Inv.dec in each st (6)
Fasten off leaving a long tail for sewing the last stitches together (alternatively you can use a bit of colour C for this).
Stalk pattern:
1. Ch 8
2. Sc 7, starting in the second ch from the hook.
Fasten off, leaving a long tail for attaching.
Leaf pattern:
1. Ch 7
2. Starting in the third ch from the hook, dc, hdc, sc, sl st
Fasten off, leaving a long tail for attaching.
Details:
Using colour D, make a st on the outside of each eye. To avoid the yarn from slipping under the safety eyes, make a st across the middle to hold in place.
Using colour E, sew the mouth on in row 14, 3 sts wide.
Using colour E, sew the eyebrows on an angle across row 18, 2 sts wide and with 5 stitches in between.
Attach the stalk and then the leaf to the top of the pear.
Lemon:
Materials:
Colour A: Sirdar Happy Chenille – Sparkler (0025)
Colour B: Rico Ricorumi DK – Pistachio (047)
Colour C: Rico Ricorumi DK – White (001)
Colour D: Rico Ricorumi DK – Black (060)
Crochet Hook: 2.5mm
8mm safety eyes
Toy stuffing
Lemon pattern:
1. Using colour A, work 6 sc in magic ring (6)
2. Sc in each st
3. Inc in each st (12)
4. Sc in each st
5. [1 sc, 1 inc] x6 (18)
6. Sc in each st
7. [2 sc, 1 inc] x6 (24)
8. [3 sc, 1 inc] x6 (30)
9. [4 sc, 1 inc] x6 (36)
10. [5 sc, 1 inc] x6 (42)
11-17. Sc in each st
18. [5 sc, 1 inv.dec] (36)
19. [4 sc, 1 inv.dec] (30)
20. [3 sc, 1 inv.dec] (24)
Add the first safety eye between row 10 and 11, add the second safety eye between row 15 and 16, make sure they’re in line with each other.
21. [2 sc, 1 inv.dec] (18)
22. Sc in each st
Start stuffing the lemon firmly.
23. [1 sc, 1 inv.dec] (12)
24. Sc in each st, top up the stuffing.
25. Dec in each st (6)
Fasten off leaving a long tail for sewing the last stitches together (you can use DK in similar colour too).
Stalk pattern:
1. Using colour B, ch 7
2. Sl st 6, starting in the second ch from the hook.
Fasten off, leaving a long tail for attaching.
Leaf pattern:
1. Using colour B, ch 6
2. Starting in the second ch from the hook: sl st, sc, hdc, dc dc, ch 1, other side of the chain: dc, dc, hdc, sc, sl st
Fasten off, leaving a long tail for attaching.
Assembly:
Sew the bottom of the leaf and stalk to each other, with the leaf at the front.
Attach the stalk and leaf to round 25 as per image.
Details:
Using colour C, make a st on the outside of each eye. To avoid the yarn from slipping under the safety eyes, make a st across the middle to hold in place.
Using colour D, sew the mouth on across row 12-14, 3 rows wide.
Using colour D, sew the eyebrows on an angle across row 9 and 10, 2 rows wide and with 5 rows in between.


They are adorable!!
LikeLike